Imagine With Craft

How to Connect Craft to Visual Studio Code with MCP
Step-by-step guide to connect Craft documents to Visual Studio Code via MCP. Read, search, and update your notes directly from Visual Studio Code.
Adding an MCP Connector in Visual Studio Code
Create a new connector in Visual Studio Code and use the MCP URL to connect the two services.
Step 1
Go to Visual Studio Code’s MCP Settings by typing
>mcp in the command palette and selecting “MCP: Open User Configuration”Step 2
Copy the following MCP configuration and paste it into the MCP configuration file in Visual Studio Code. Replace
craft with a descriptive name for your MCP server. Replace <MCP_URL> with the MCP URL.{
"servers": {
"craft": {
"url": "https://mcp.craft.do/my/mcp"
}
}
}Step 3
Save the MCP configuration file. It should look something like this example. Press the “Start” button to start the MCP server.
Step 4
A browser window will open showing the Craft authorization page. Select the space you want to connect and click "Approve" to grant access.
You can now ask Visual Studio Code about your documents, and even have them updated. Try something like this to get started:
Click an example to copy the prompt to your clipboard
Some Ideas to Get You Started
Browse App Templates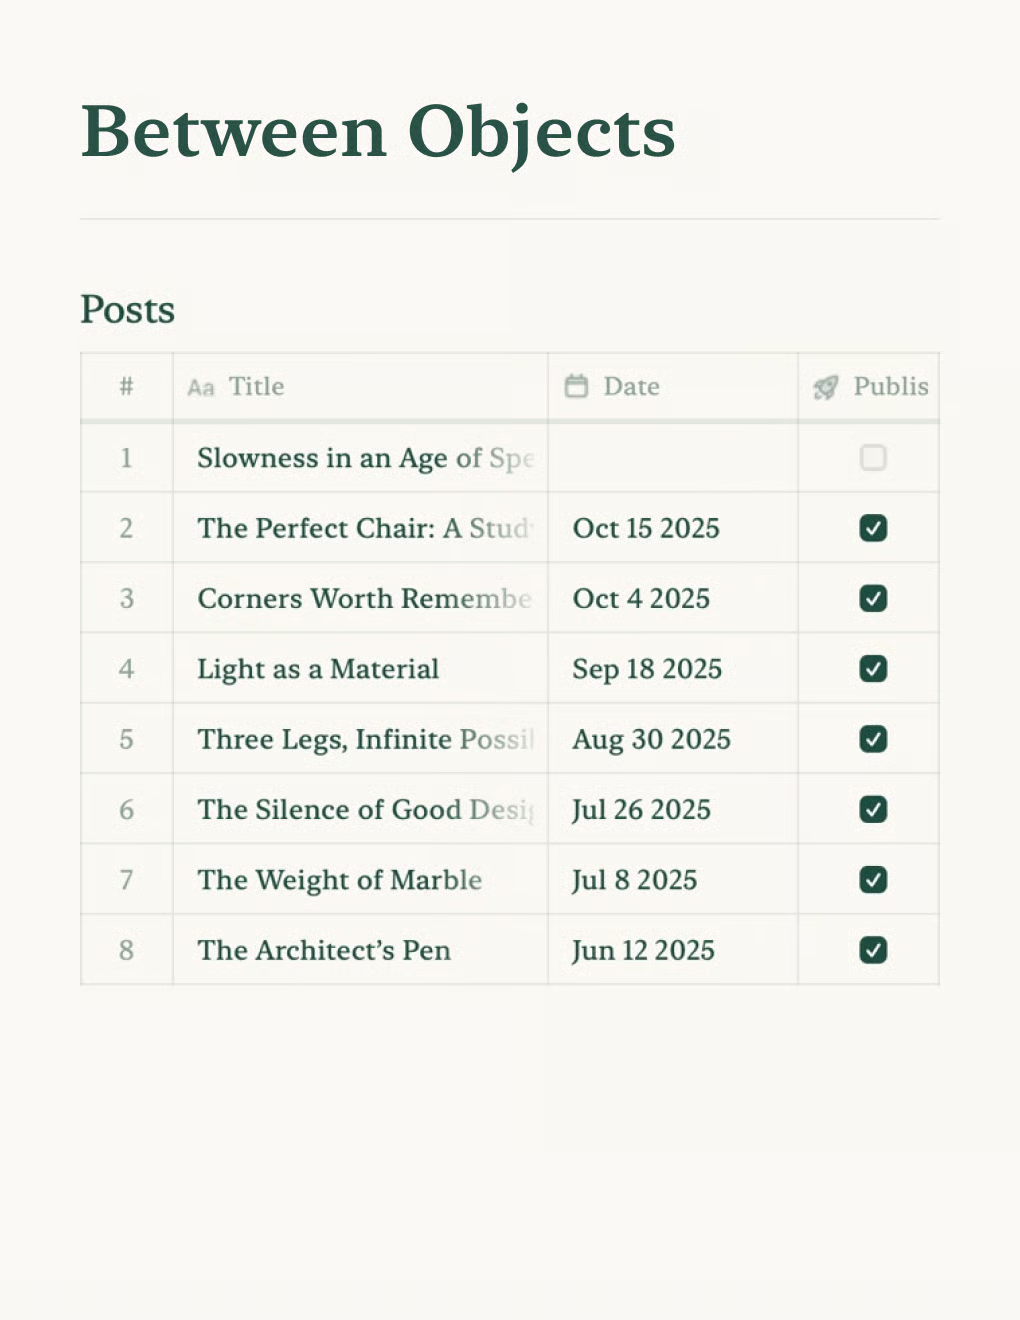

Personal Blog
Build a personal blog powered by Craft docs. Auto-syncs content via API — publish from your notes app.
Learn more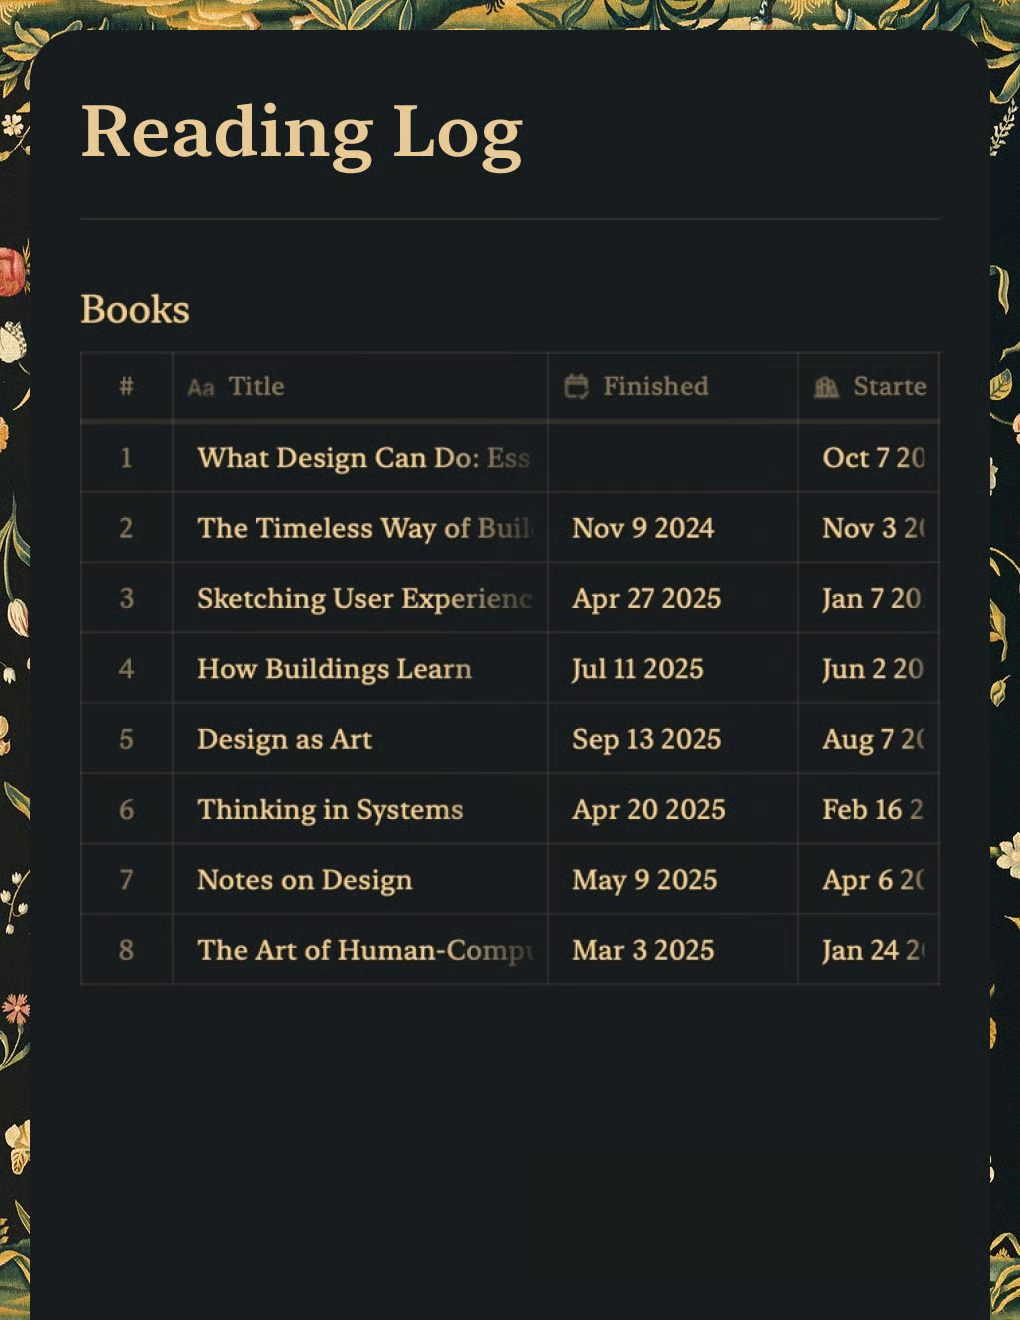
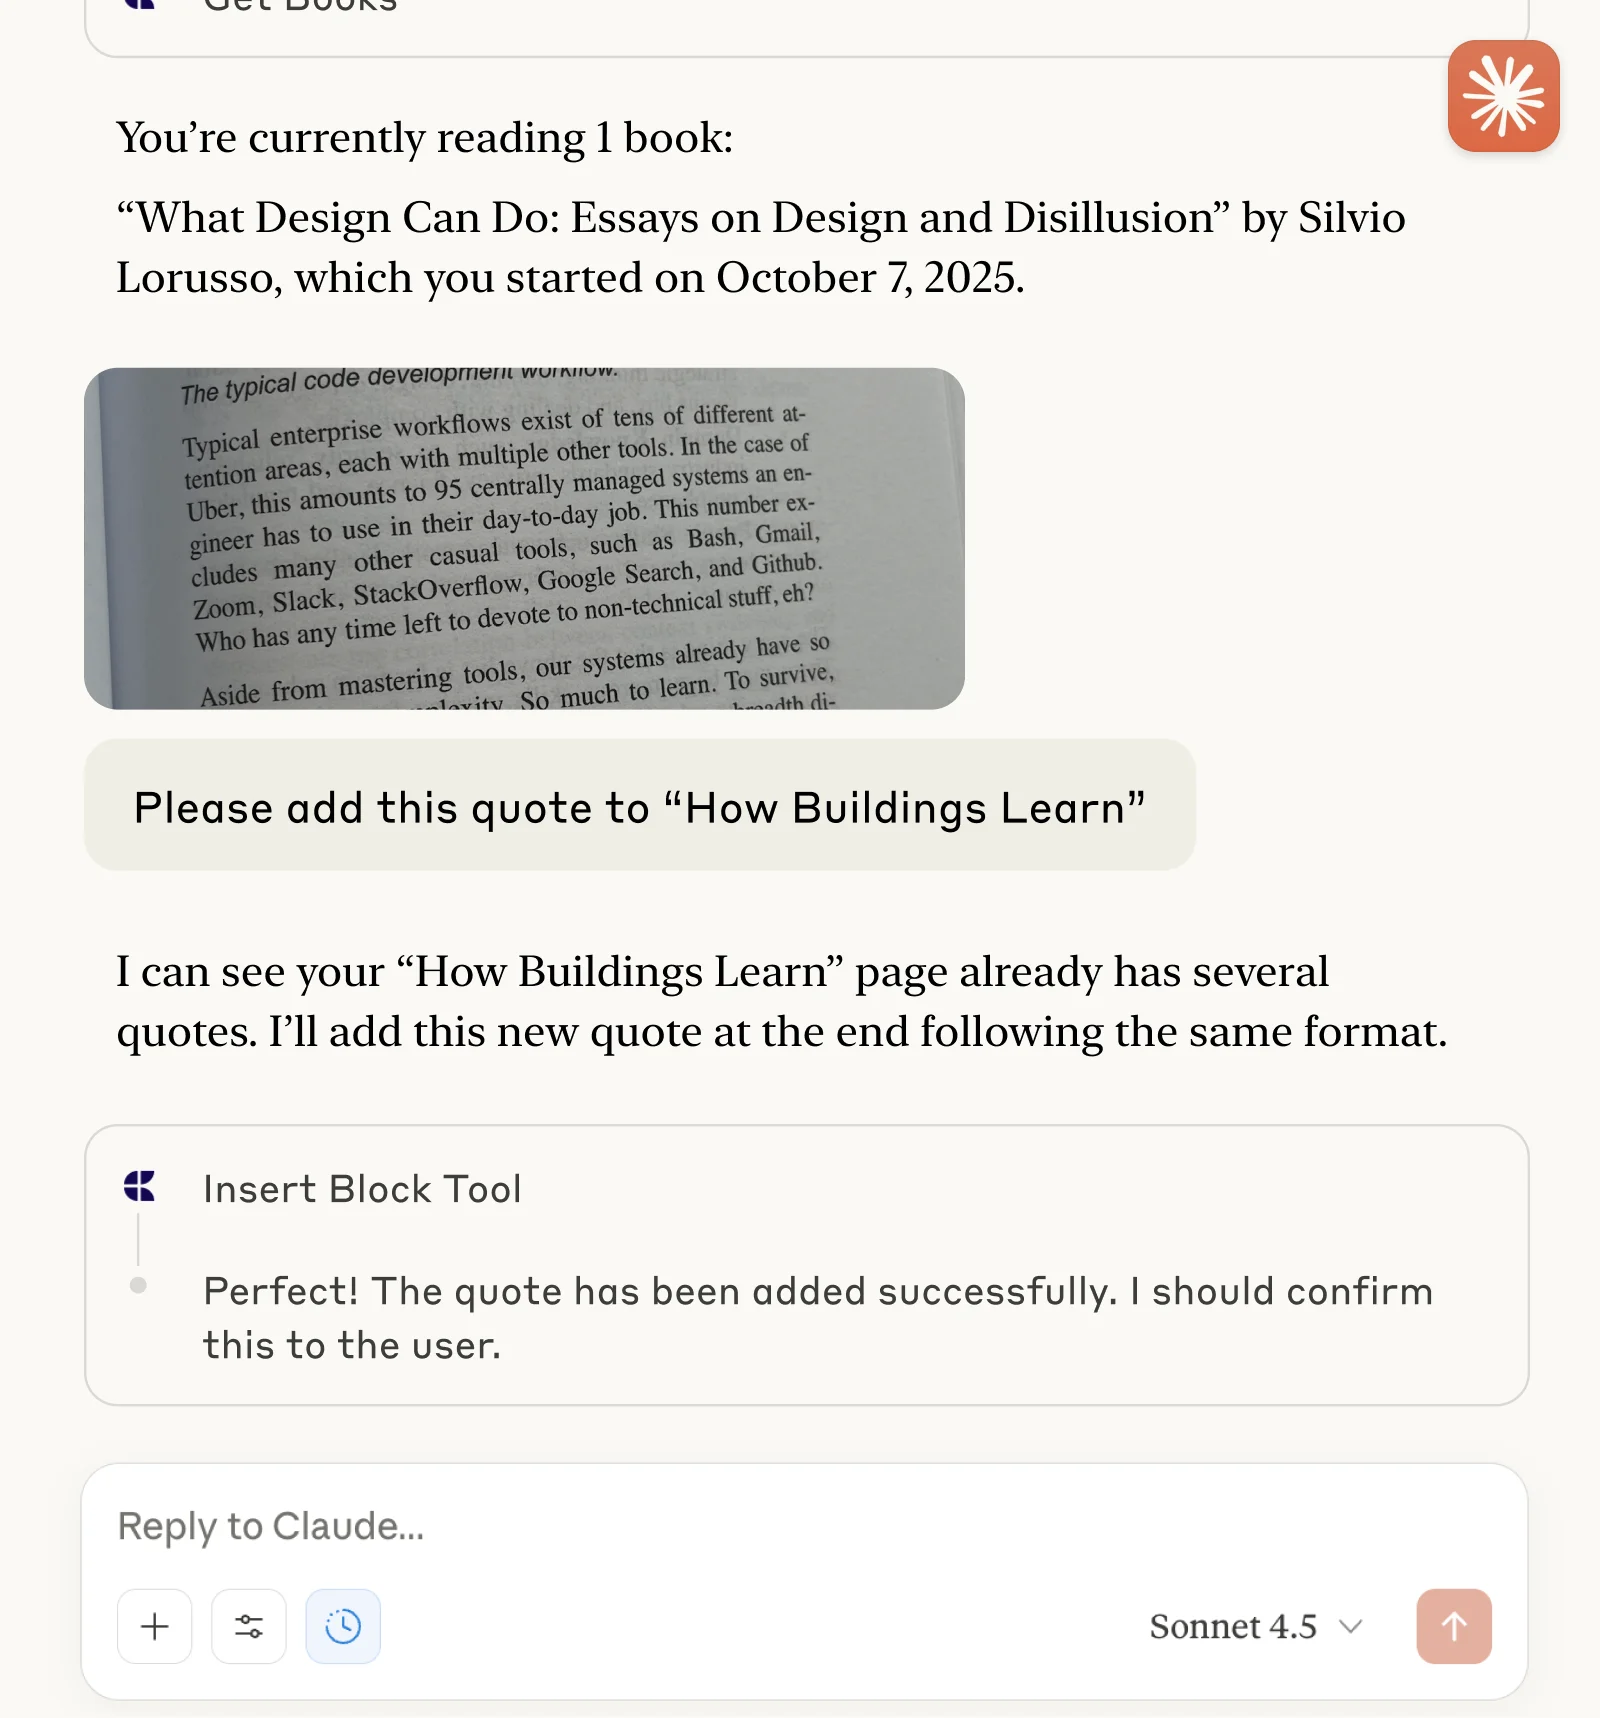
Reading Log
Track books and capture quotes with Claude or ChatGPT via MCP.
Learn more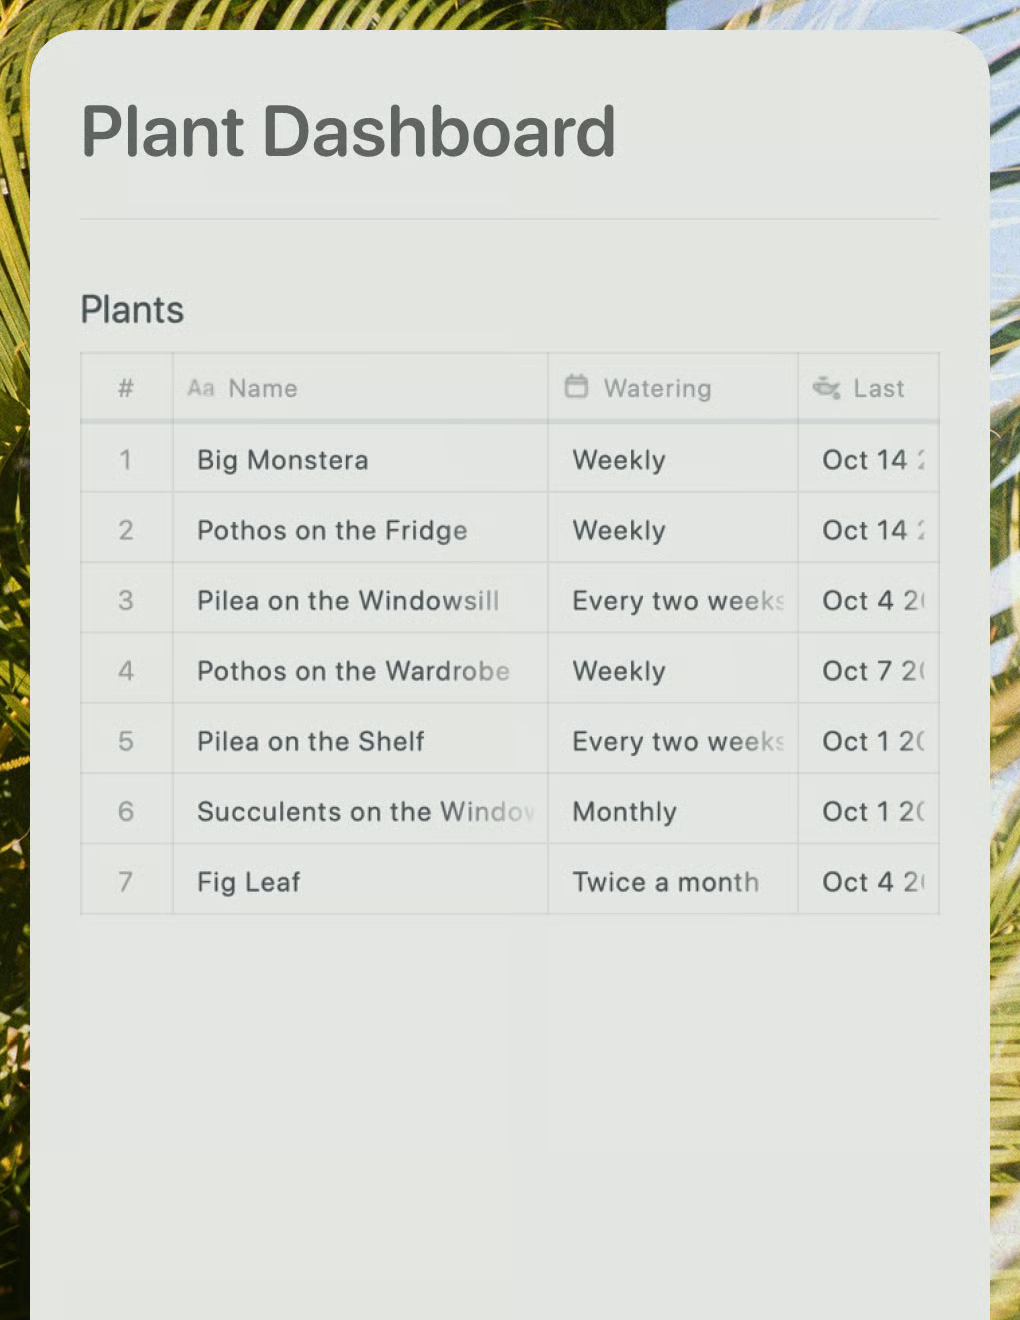
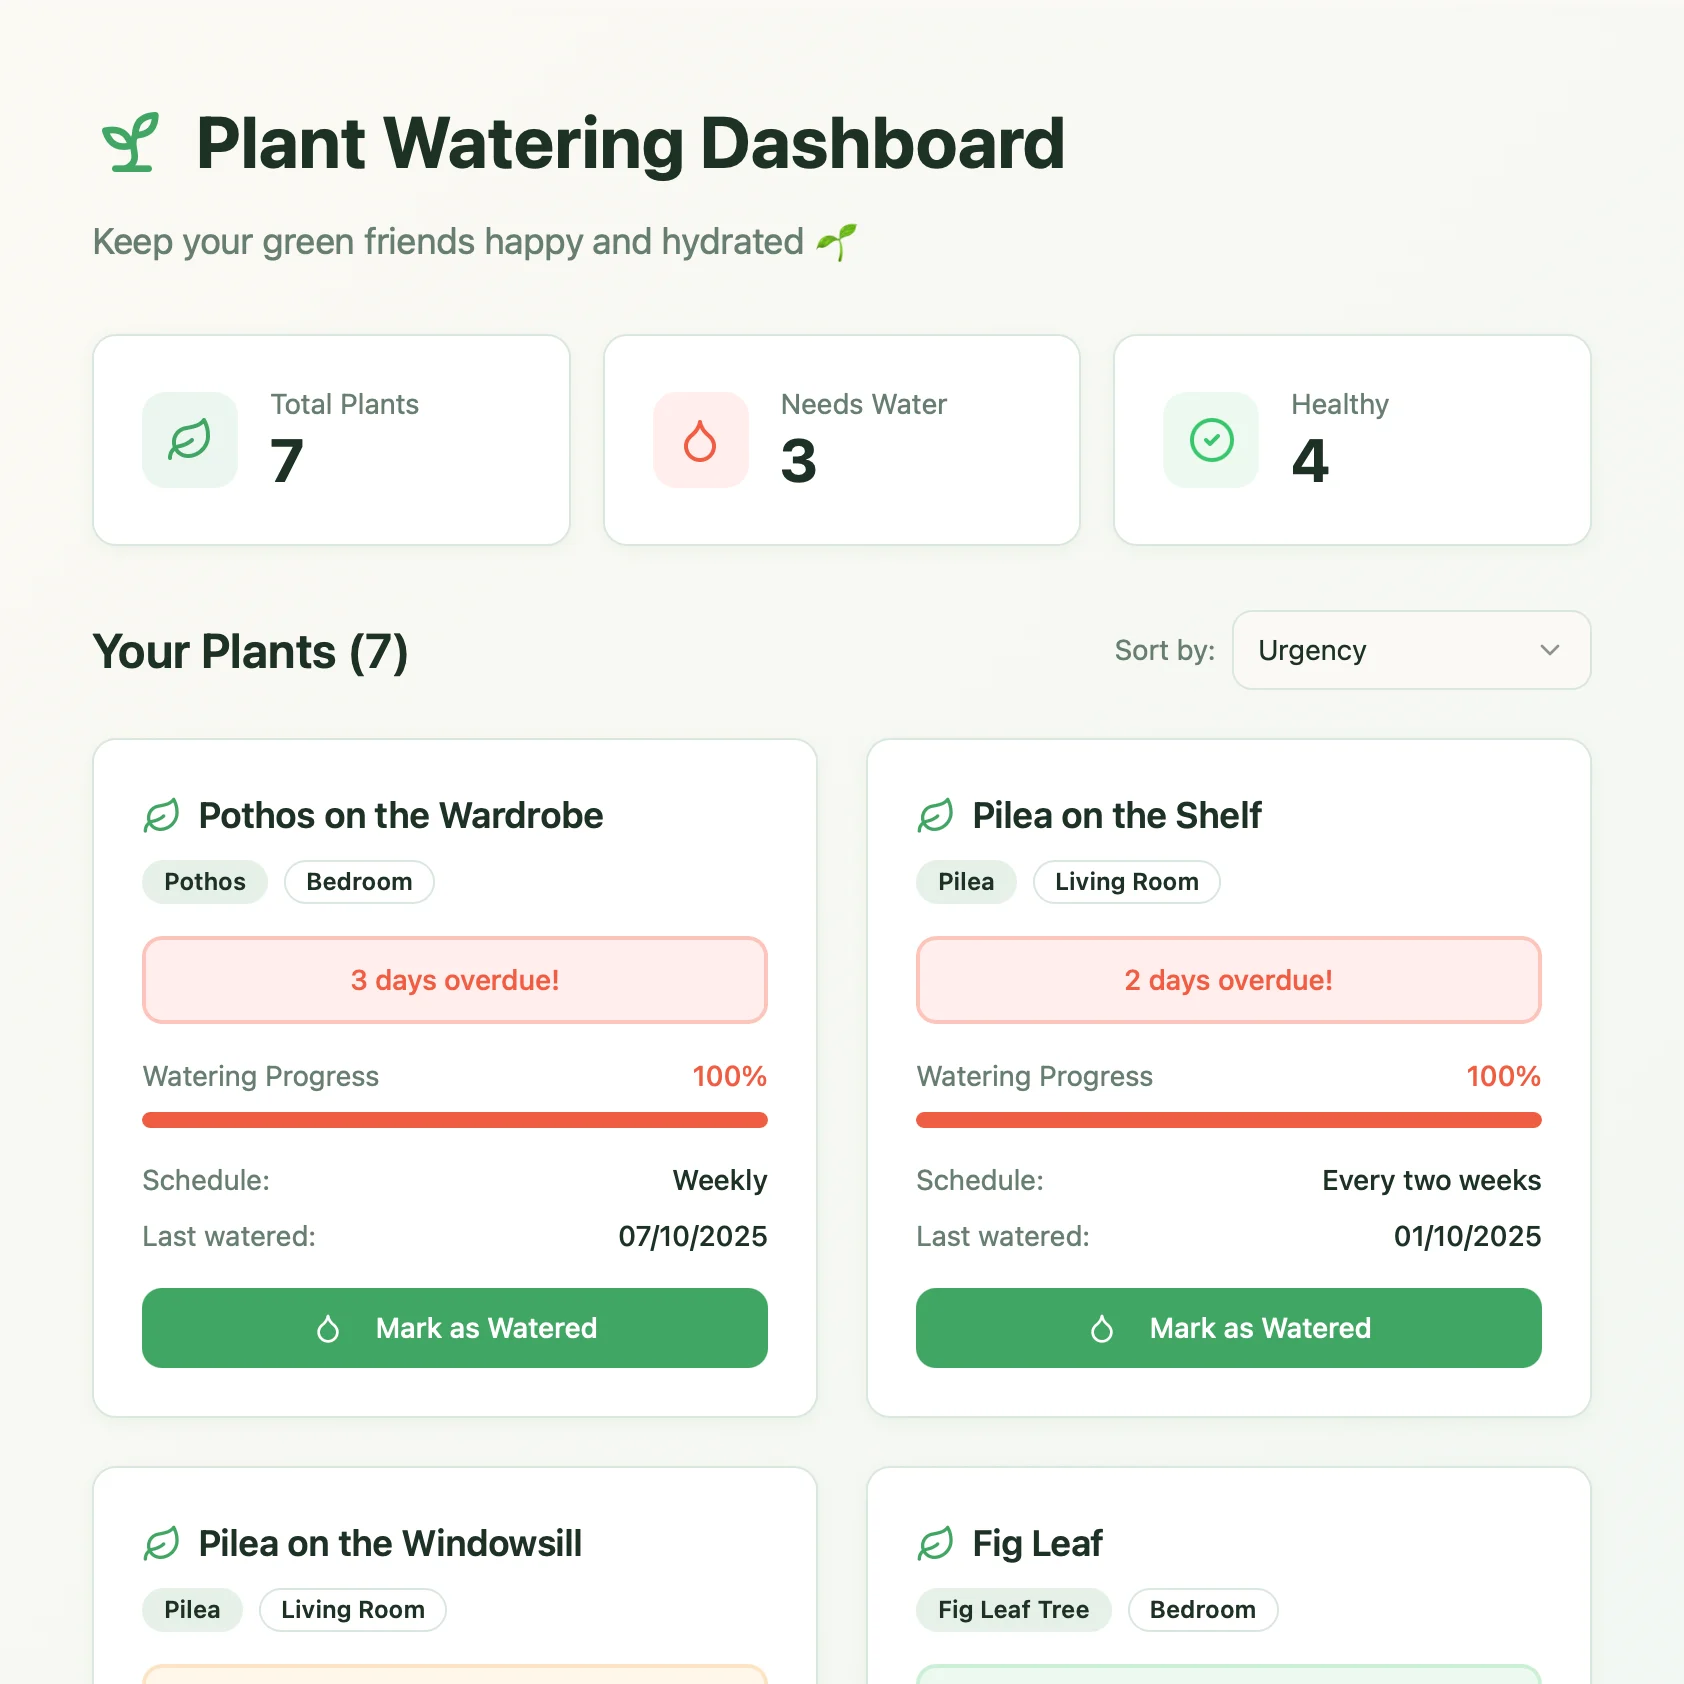
Plant Dashboard
A live plant care dashboard built with Lovable. Pulls watering schedules and care tips from your Craft doc.
Learn more